
I’m building out my new home studio, and it badly needs some acoustic treatment. Since this is a bedroom studio, I can’t go heavy on modifications, but I do want to control reflections as much as I can, plus as an avid DIYer, I’m happy to get my hands dirty.
In this blog, I’ll walk you through the process of creating stylish and functional acoustic panels, at minimal cost.
My aim is to build light-weight acoustic panels to cover a couple of walls. Something along the lines of this custom one I have in my workshop…

This was printed and made by ATS Acoustics (no affiliate links)
Acoustic panels will absorb different frequencies at different rates, dependent on the material and thickness of the material – and any air space to the wall. What I am building here are modest absorbers, that will make the room sound much better overall (I’ve done this before!) but won’t act as well on the lower bass frequencies – the panels would need to be much thicker… But I can handle that tradeoff…
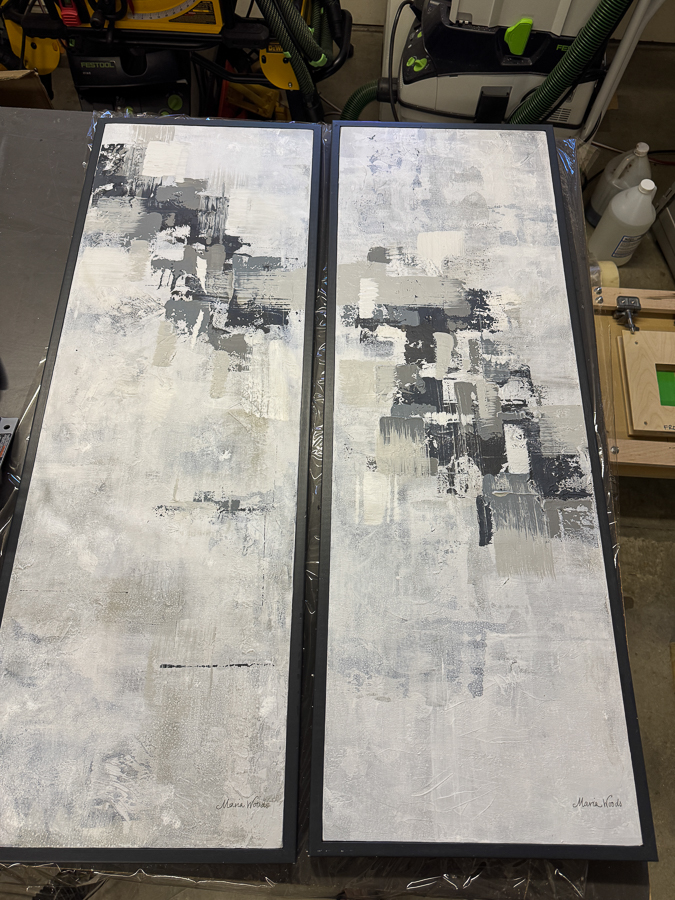
So where to begin!? As luck would have it, we found a set of four large square canvas prints in a budget store and decided to kickstart the build with those.
My wife also had some plain framed canvases (she is an artist!), which she painted to work with the budget prints.
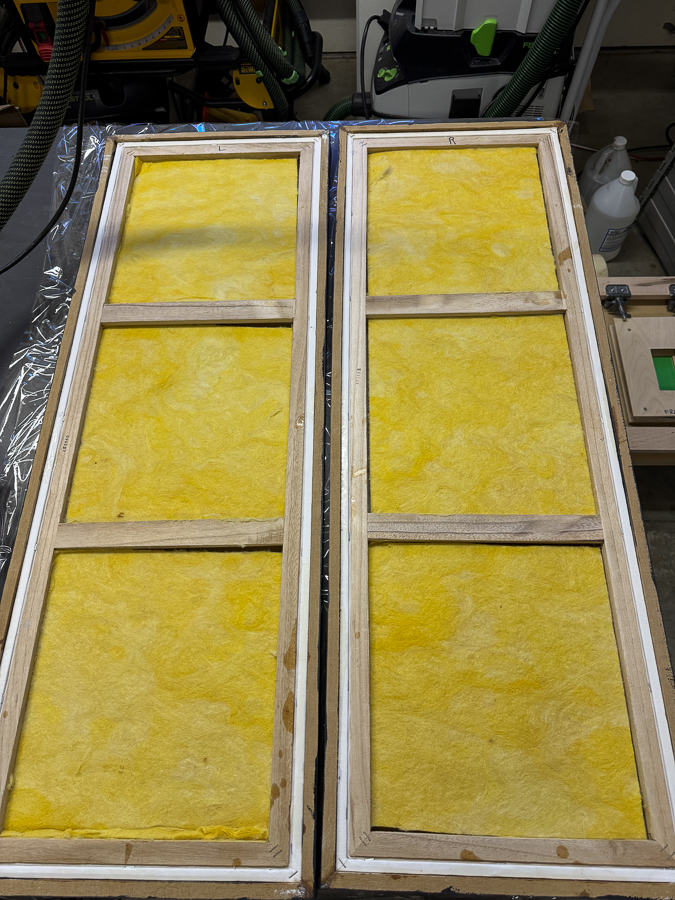
For an absorber, I used 1″ thick Owens Corning 703 rigid fiberglass board. I got a box of 12 1″ panels at 24″ x 48″ for about $130, delivered.
These have to be cut to fit the back of the prints. Wear gloves, mask and long sleeves to avoid irritation from the fibers. I used a long metal ruler, and cuts easily with a couple of passes with a box cutter.
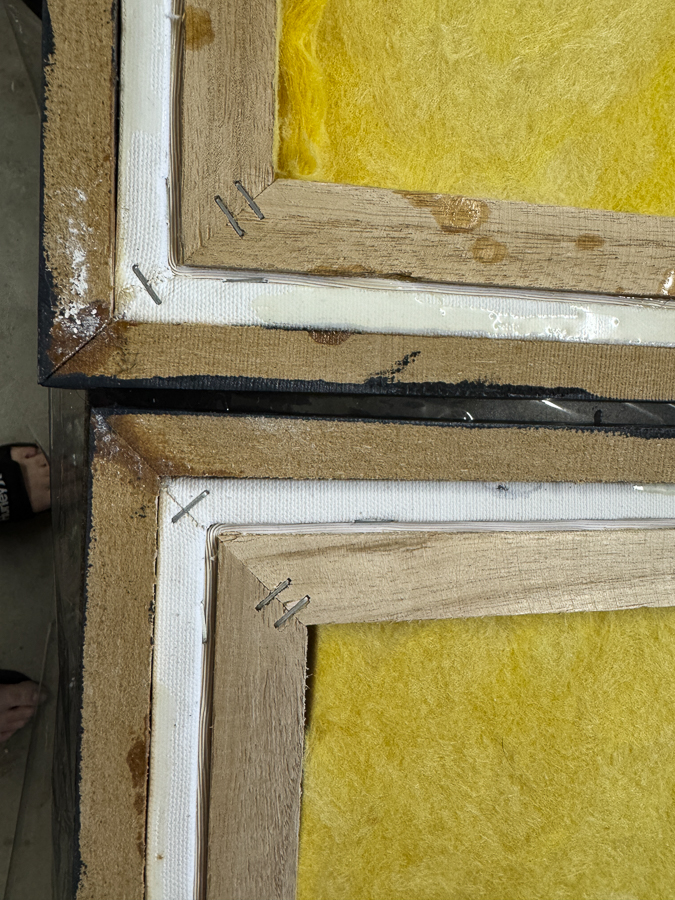
Use a generous coasting of 3M Super 77 on the canvas and board to fix in place. (I hate this glue – it seems to get everywhere, so keep covered up!)
You could stop here and have functional absorbers, but I have DIY tools, and will use them!
First, I built a wooden frame around the canvases, using coated MDF door trim. Easy to work with and smooth finish for painting… These were epoxied and pin-nailed in place, then painted.
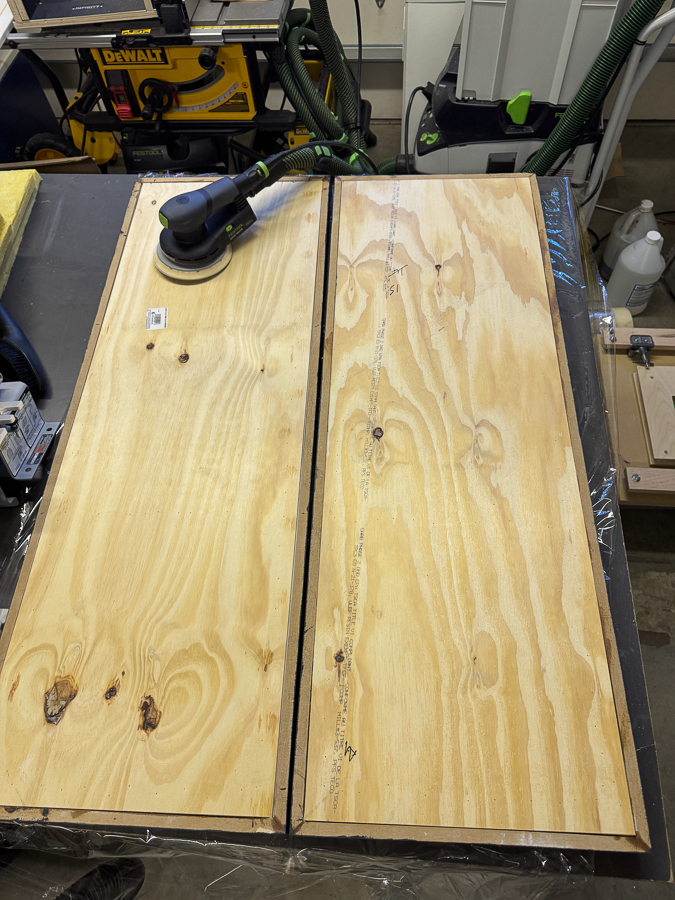
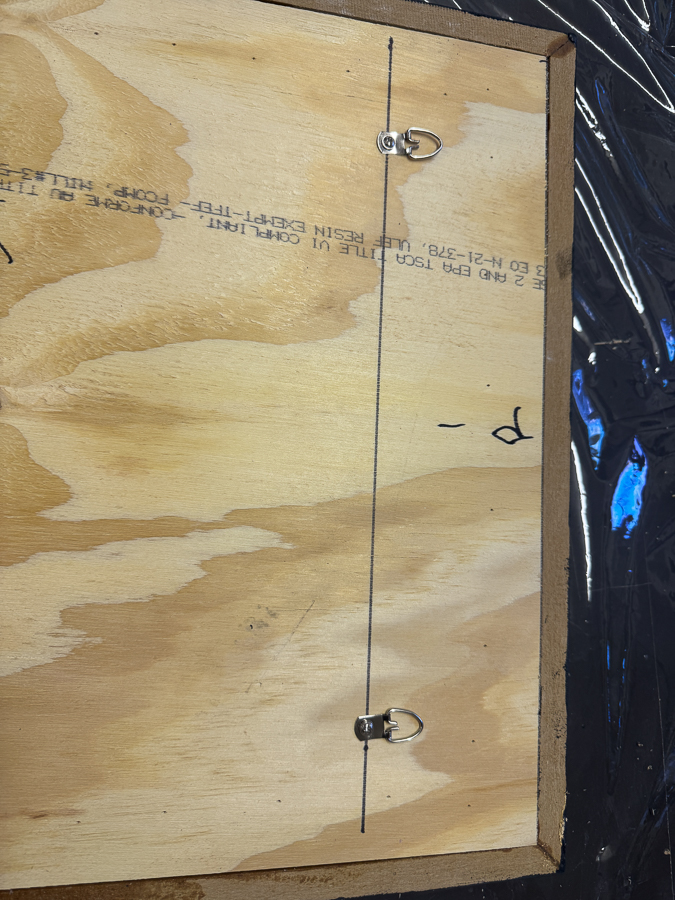
Finally, I cut ¼” plywood back panels, again using epoxy and pin nails to assemble, before finally adding a couple of hooks to hang.
Some comments on other options… First, my panels ended up being about 1 1/4″ deep. There’s nothing stopping you using similar 1″ canvas prints, and building a deeper frame, and filling that with thicker fiberboard, for more bass absorption. Also, you can use something called mass loaded vinyl as well as the ply. It’s meant for construction, but heh…
And finally, you can buy Z hooks to mount these more cleanly to walls, rather than the low cost hooks I used.
And having a wife who is an artist might help!
Here’s the main wall, with the modified and home made panels – the studio is starting to come together 😉

Functional and beautiful! Fantastic!!