
An audio circuit test probe is a really simple, but useful tool when testing and debugging audio circuits.
The one I’m presenting here is a little over the top(!) – you can build an equivalent much simpler and cheaper – but this one’s for me, and I like making things!
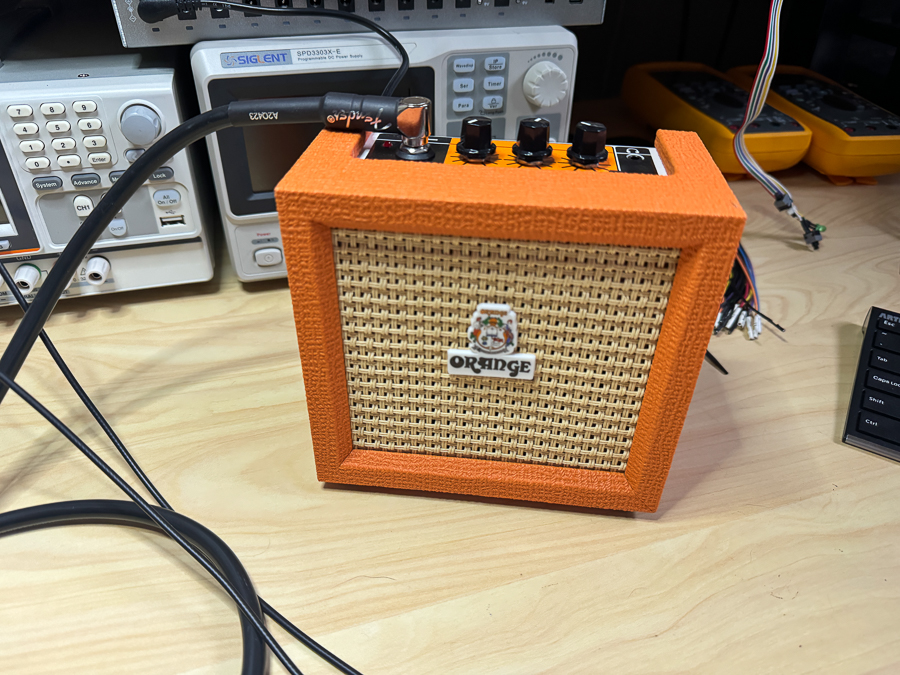
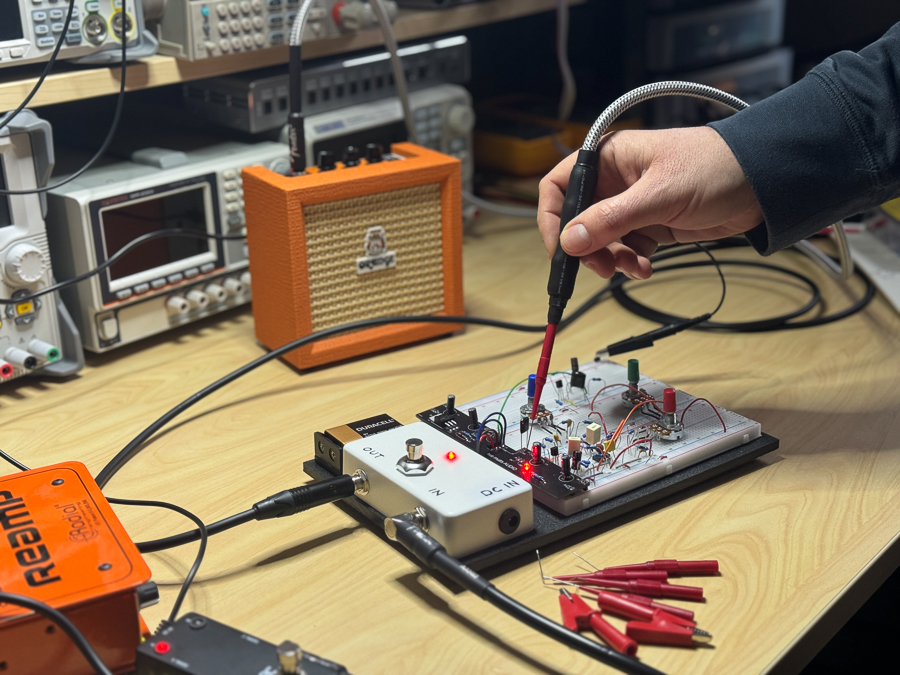
Fundamentally, what I ‘m building is a guitar cord with a decent size coupling capacitor to probe and listen to circuits on the bench. I have a number of test amps, but I like to use this tiny cute Orange Crush mini amp whenever I hook up anything new, or I’m unsure of what I will get (dodgy!) – and it’s perfect for using this probe.
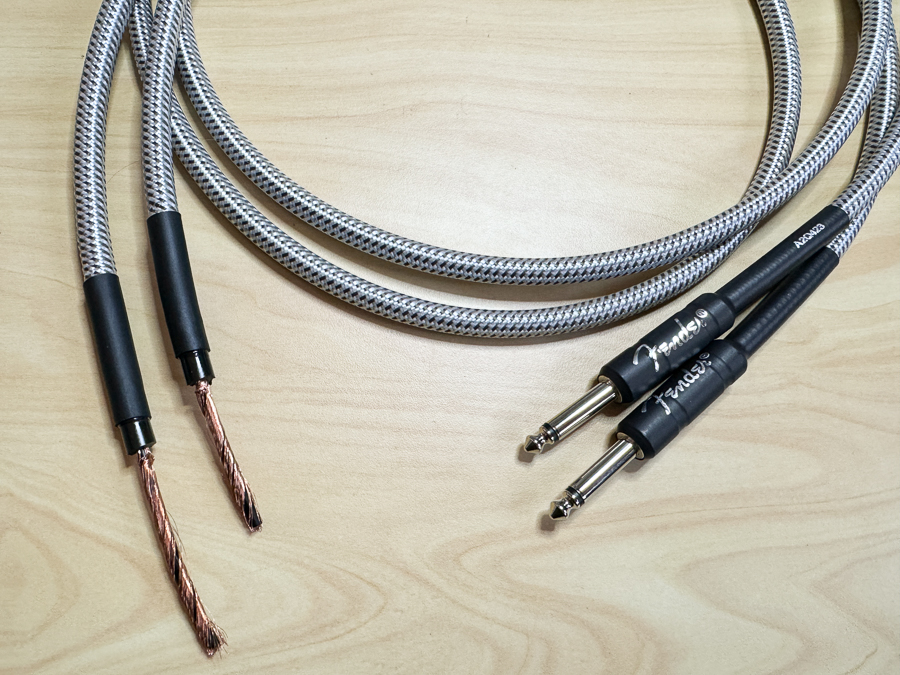
For the test cable, I decided to use a 10′ Fender Pro Tweed cable (Fender look away now!) and cut it in half to make two 5′ test cables. Spares, right? Or as the marines say – one is none and two is one!?
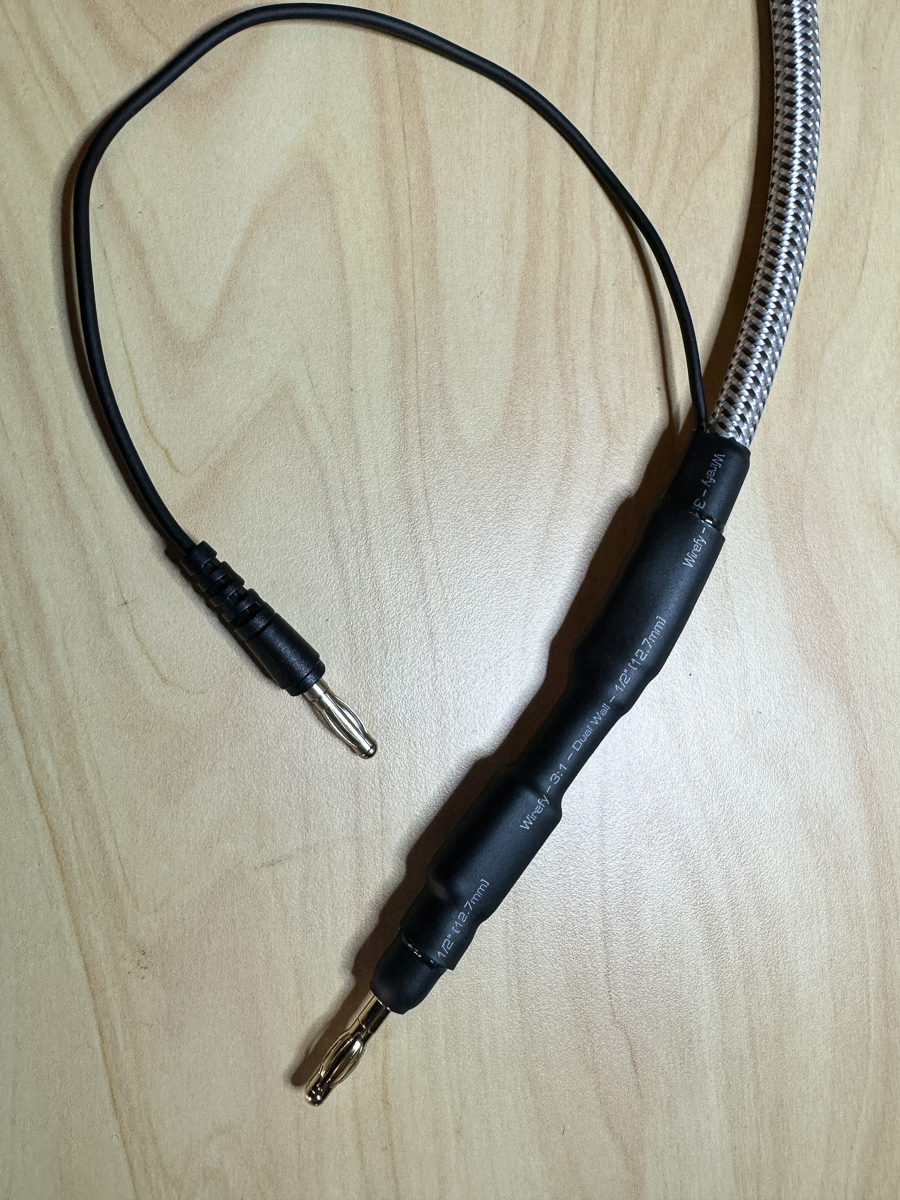
The cable has a nice white braid, so instantly recognizable on the bench. I cleaned up the end with heat shrink to seal the cable braid.
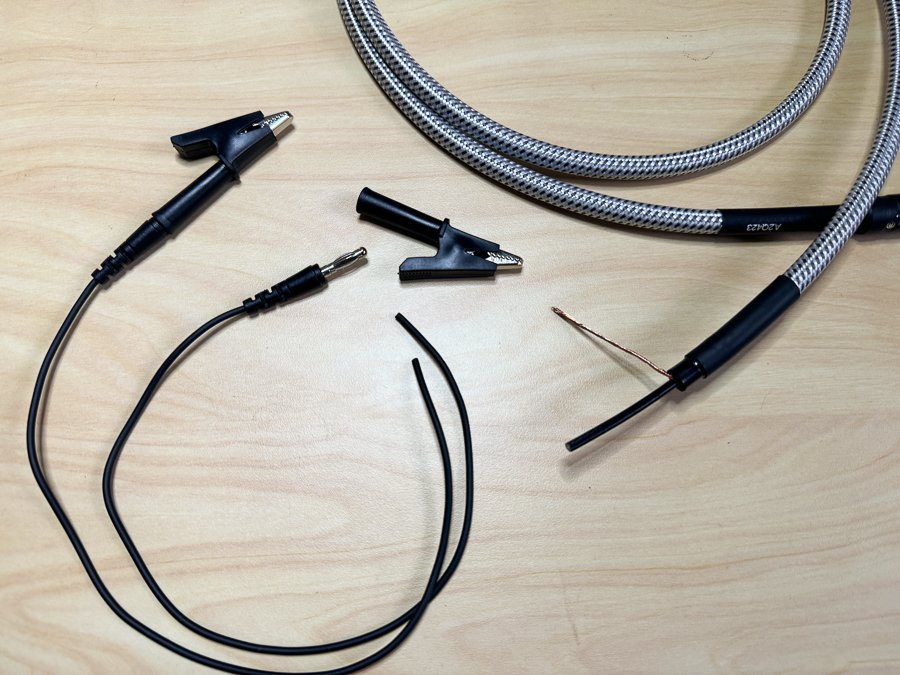
For the ground clips, I decided to hack parts from these cheap probe kits – so the ground can be connected to a banana or croc clip.
These were soldered on, and sealed with more heat shrink. I like how the heat shrink makes the probe-to-be more substantial. But there are more layers to go!
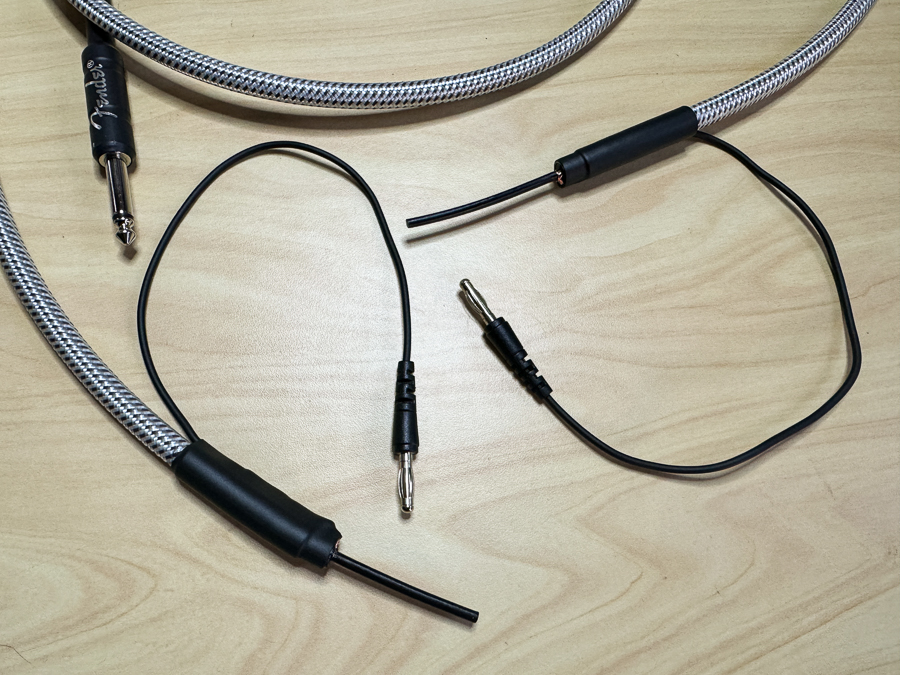
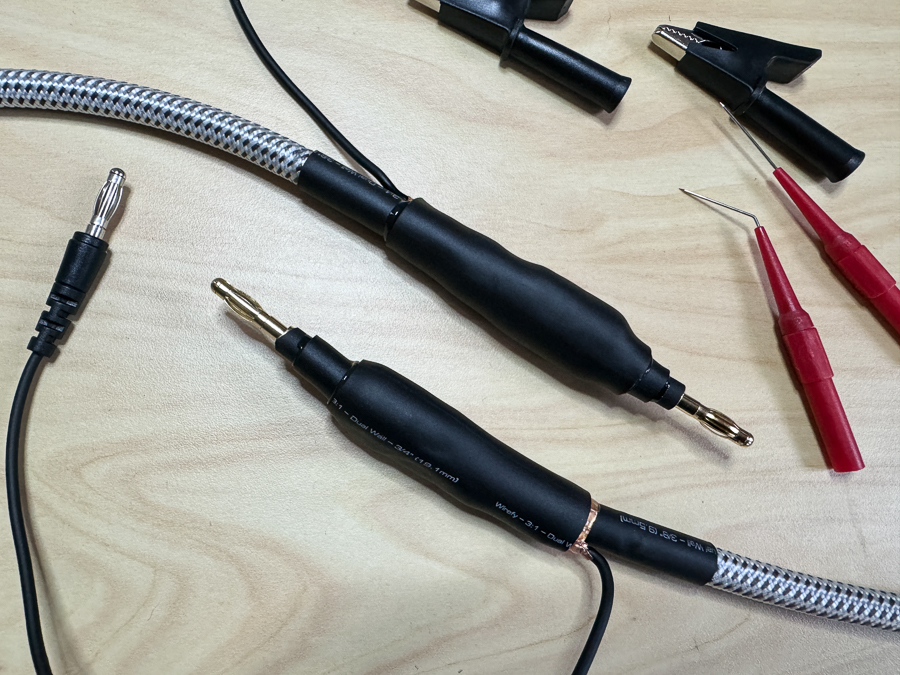
For the probe itself, I chose a 1uF big voltage cap – to allow a lot of frequencies through, but not mess with DC – and more cheap banana probes from Amazon. The idea is the banana plugs will enable connection to different probes in the clips kit. These are nice quality, and solder well.

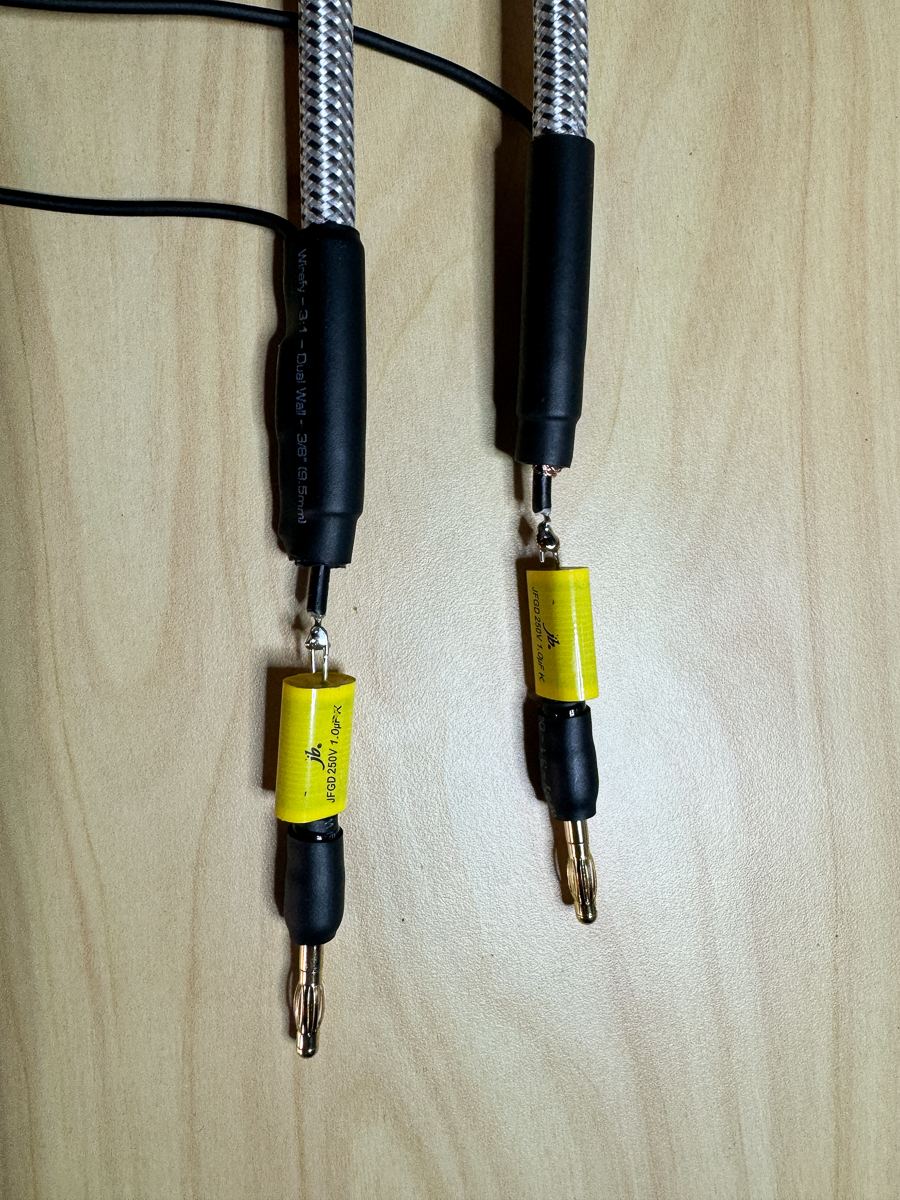
Now it’s just a case of making the capacitor to cable connection stand up to my use – so, more heat shrink!
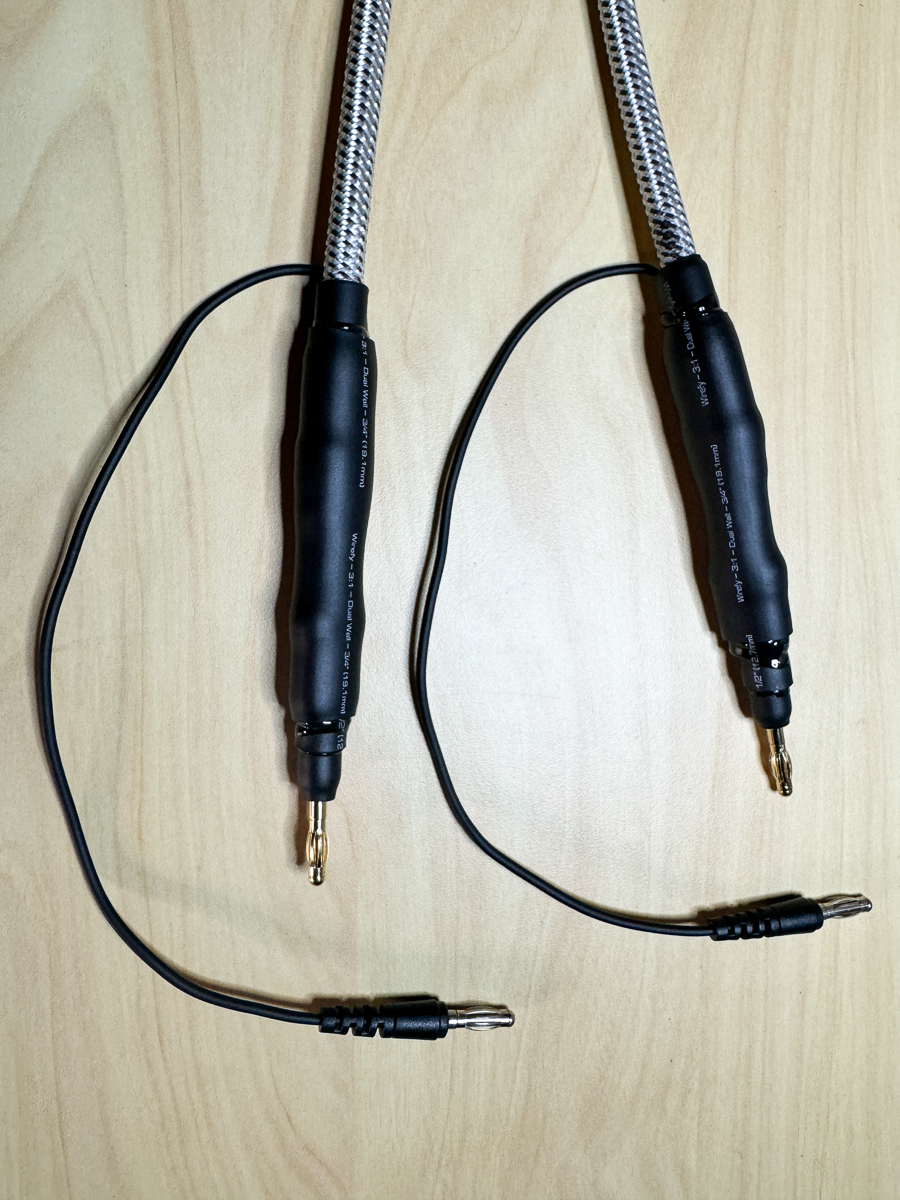
It was important to me to form a robust rigid “handle” for the probe out of the cap and banana plug, and I’m very happy how it turned out.
The probe tips are interchangeable and small enough for SM pins and test points on breadboards.
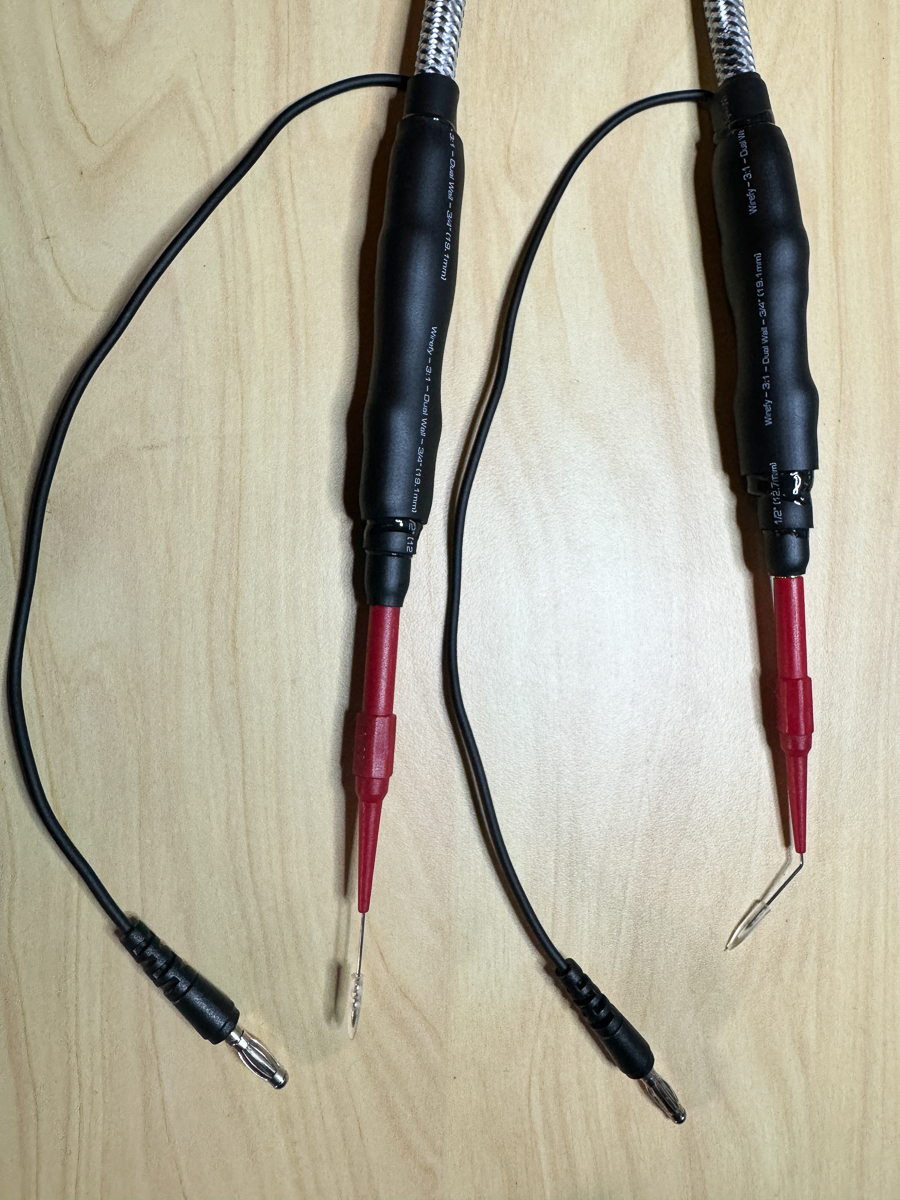
The cable works great – it is robust, has flexible connections and looks great!
Here’s a pic showing the probe in context – with the dev boards I just made. Oh, and my effects setup has an A/B box on the input to the development board. One input is for a guitar, but the other comes from a Re-amp box from a DAW, so I can play a guitar riff or loop into the unit to test and tweak. Way easier with just two hands!
Quick update – fixing the RFI demons
Well, I thought these were finished, but using them one day to fix a dodgy connection (bad solder joint…) in a pedal, I was getting some crazy hum and RF pickup – and it was clearly present in even just the probe, especially with the longer probe tips. Turned out, I had built some good antennas!!
So, I reworked the probes to place a copper film shield / layer over the cap – basically extending the cable shield over the cap to the probe tip… This is connected to the ground / cable shield electrically. The copper tape is adhesive and conductive through the tape.
More heat shrink, and we were back in business…
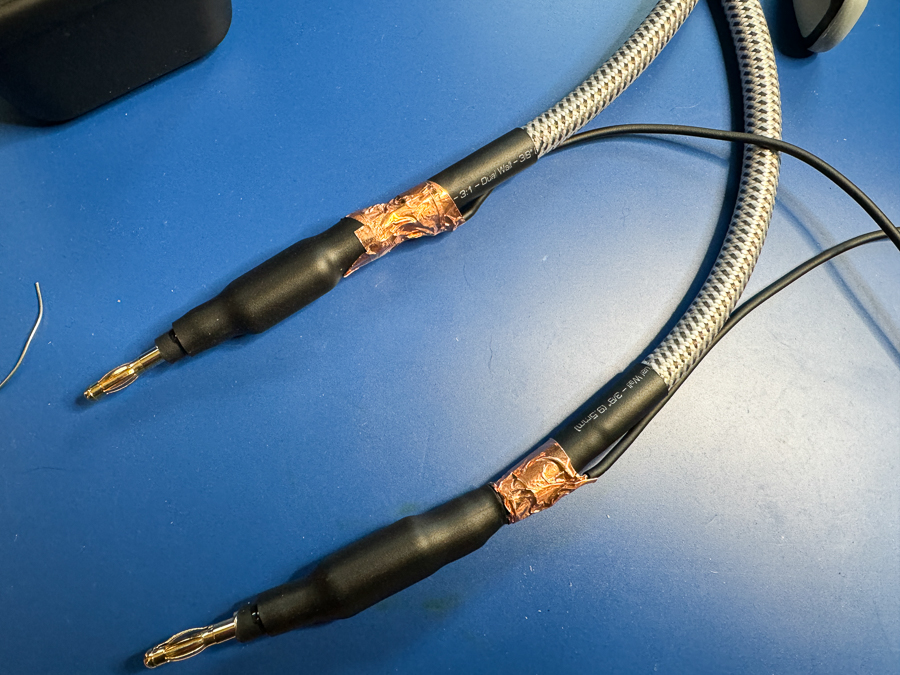
This indeed made the difference, and so far, no more RF interference!